Mastering the High Kneeling Exercise position is a transformative step for anyone looking to reclaim core stability, improve postural alignment, and enhance functional movement in their daily life. In this comprehensive guide, you will learn the evidence-based techniques required to perform these exercises safely, how to customise variations to your specific needs, and practical strategies to protect your joints while building long-term resilience. By following these professional insights, you can confidently integrate this foundational movement into your routine to support your overall health and physical longevity.
The Benefits of High Kneeling Exercise for Core Stability
The High Kneeling Exercise functions as a foundational movement pattern that provides significant therapeutic advantages, including increased spinal loading, improved hip mobility, and enhanced core stability. By removing the base of support provided by the feet, this position promotes a neutral spine and facilitates scapular stabilization, which is vital for overhead movements. Furthermore, clinical research by L. Zhang (2024) highlights that such training significantly enhances lower limb balance, making it a critical component for functional rehabilitation.
Essential Anatomy and Muscle Engagement in Kneeling Exercises
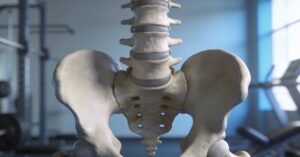
The High Kneeling Exercise effectively targets the entire posterior chain and core musculature, requiring the gluteus maximus, hamstrings, and quadriceps to work in concert with the abdominal wall. Specifically, the movement engages the transverse abdominis, obliques, and rectus abdominis to support the torso, while the erector spinae muscles maintain an upright posture.
| Muscle Group | Primary Function in High Kneeling |
|---|---|
| Core (Transverse Abdominis/Obliques) | Anti-rotation and spinal stability |
| Posterior Chain (Glutes/Hamstrings) | Hip extension and pelvic alignment |
| Erector Spinae | Maintaining an upright, neutral spine |
Step-by-step Guide to Proper High Kneeling Form
To perform this movement safely, follow these steps to ensure your biomechanics are dialled in:
- Kneel on a soft surface like a yoga mat or rug to protect your patellar tendons.
- Position your knees exactly hip-width apart.
- Stack your head, shoulders, hips, and knees into a single, vertical line.
- Squeeze your glutes hard to lock the hips in full extension.
- Brace your abdominals as if preparing for a punch to prevent lower back arching.
Common Mistakes When You Kneel or Perform Tall Kneeling
You can prevent injury and maximise the effectiveness of your training by strictly avoiding the following common pitfalls:
- Hip deviations: Raising or sagging the hips, which ruins your neutral spine.
- Knee instability: Allowing knees to cave inward or jut forward.
- Ankle issues: Rolling the ankles inward or outward.
- Excessive flexion: Bending the knees beyond 90 degrees unnecessarily.
Advanced KB Variation and Pilates Inspired Movements
Ever wondered if there’s a faster way to level up your core game? You can progress your training by incorporating specific variations that challenge your stability:
- Kneeling Pallof Press: Press a handle straight out from the chest and hold for 3 seconds.
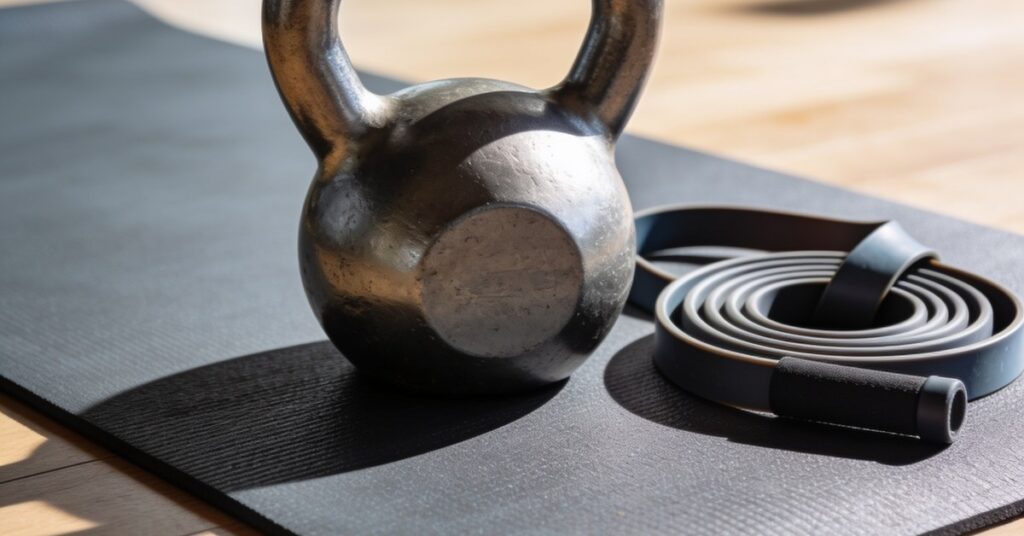
- Kneeling Kettlebell Halo: Circle a KB weight around the head while keeping the torso rock-solid.
- Tall-kneeling Landmine Press: Use a landmine setup to press overhead while resisting the urge to arch your back.
- Kneeling Lean Backs: Flex your feet and lean your torso backward while maintaining glute tension.
How to Incorporate High Kneeling Exercise into Your Workout
You should incorporate 2 to 3 sets of these exercises into your current programme, ensuring you reduce your usual lifting weight by 20% to 30% when first starting out. Maintain an 8-12 inch gap between the knees while keeping them positioned directly under the hips to ensure a stable base. By consistently engaging the glutes and bracing the core throughout each movement, you will build a stronger, more resilient foundation for all your other physical activities.
Physical Therapy and Postural Prescription for High Kneeling
Clinical practice suggests that a static hold should be maintained for 30 to 60 seconds with knees hip-width apart and toes either flat or tucked. For those focusing on posture, tall kneeling sit-backs are prescribed as 3 sets of 10 repetitions, requiring the user to stack their ribcage, pelvis, and head in a perfect line. As noted in the 2025 publication „Creative Core and Stability Training in Tall Kneeling Position” (The Note Ninjas LLC), these movements are highly effective for long-term postural correction.
Safety Considerations for Knee Pain
The High Kneeling Exercise is generally safe if performed with controlled, gentle movement, though you should be aware that avoiding all activity can often make knee pain and stiffness worse over time. Important: While kneeling or deep bending may increase pain or swelling in cases of advanced osteoarthritis, it is important to distinguish this from the high-impact forces generated by running or jumping, which are far more likely to cause further injury.
If you experience minor joint pain, the RICE protocol (Rest, Ice, Compression, and Elevation) is the recommended first-line approach for managing symptoms and maintaining joint flexibility. From my experience, keeping a simple record of how your knees feel after these sessions helps you adjust the volume and intensity before minor aches turn into actual setbacks.
Frequently Asked Questions
Is the High Kneeling Exercise suitable for beginners?
Yes, this movement is highly recommended for beginners because it provides a safe, stable environment to develop core control. By focusing on the static hold first, you can build the necessary foundation before adding complex variations or external resistance.
Do I need special equipment to start?
No, you do not require any specialised equipment to begin your training, as your own body weight is sufficient resistance. However, using a soft yoga mat or a folded towel is highly advised to protect your joints from unnecessary pressure during the movement.
Can this movement help with lower back pain?
It can be very effective for back pain, provided you maintain a braced core and neutral spine throughout the hold. By strengthening the deep abdominal muscles and improving hip mobility, you reduce the compensation patterns that often lead to lumbar discomfort.
How often should I perform these movements?
For optimal results, aim to include these movements in your routine 2 to 3 times per week to ensure consistent progress. Always listen to your body and allow for adequate recovery time if you feel excessive soreness in your stabilising muscles.
Focusing on strict vertical alignment and controlled glute engagement will help you reap the stability benefits of this movement safely. Trust the process and listen to your body, as consistent, gentle practice is the most reliable path to regaining your strength and confidence.